
Here we have shown many example for each of the media type for which we will use Livewire for uploading. You will notice that how well Laravel medialibrary has been used here. Laravel provides us with tremendous amount of facilitaton to make our webapps perform exceptionally well.
The goal is to let the developers get the best apps that meet their requirements. In this Laravel livewire guide we have shown a step-by-step walk-through to upload media types using Livewire in Laravel. We have shown code examples for uploading single files, multiple files and so on so forth. There are also validation rules described with each step and script required to make them work.
You can also generate view to see how they actually look in your web-app based on Laravel. For other details you can see the code examples and tutorials already published at Laramatic if you need assitance in other fields. There is a plenty of material available in this post that would take you to make things work on your own without getting into much of the tutorial details on other sources.
Please make sure to to read through each of steps defined here. Leave us comments if you face problems related to it.
For installing Laravel follow the instructions here. Please make sure to check the version type using the following command to check the version.
Composer show spatie/laravel-medialibraryBesides, we can use x-media-library-attachment or x-media-library-collection in our Livewire view component.
#1 First Step
We have to install laravel following the guidelines by visiting Livewire installer.Use the bellow command if Alpine is not installed you can use CDN to grab it:
<script src="https://cdn.jsdelivr.net/gh/alpinejs/[email protected]/dist/alpine.min.js" defer>--
       </script>
We can make use of the Alpine repository for more detailed guides.
#2 Second Step – Demo Set up
Please make sure to visit Laravel repo where we can see how to make the best of Livewire components with Media Library. For more assistance make sure to use our guides on using these components in the app. Now let’s get to our main goal of topic handling uploads in Livewire and the media library.
#3 3rd Step – How to Handle A Single Upload
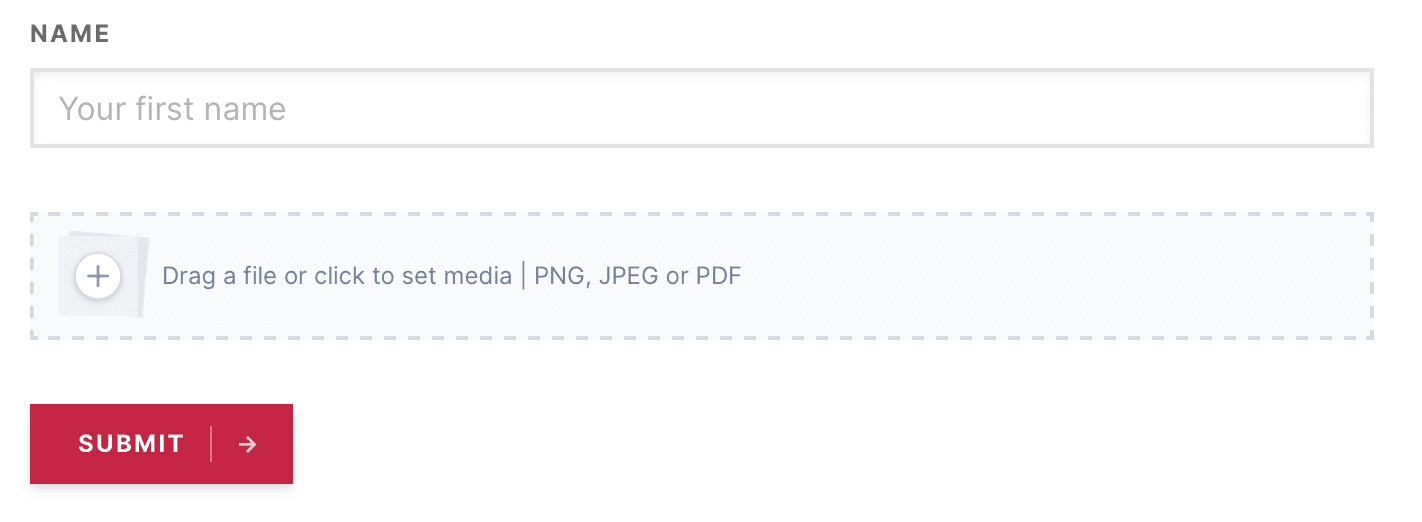
We are going to upload a single file and the component we’d use for that x-media-library-attachment:
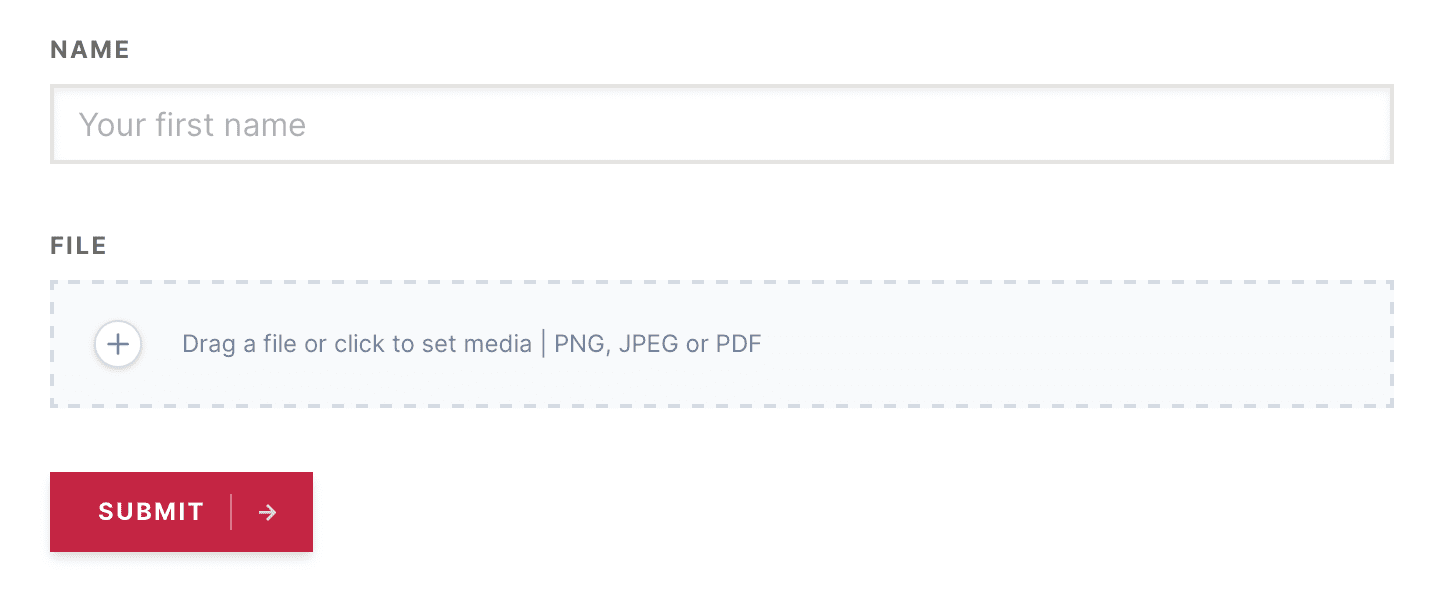
You’d see its appearance in Livewire view component for instance:
<form method="POST" wire:submit.prevent="submit">

    <input id="name" wire:model.debounce.500ms="name">

    <x-media-library-attachment name="newUpload" />

    <button type="submit">Submit</button>
</form>
Here are some of the major steps that we have to follow for its incorporate into Livewire component. See the examples bellow:
- spatie\MediaLibraryPro\Http\Livewire\Concerns\WithMedia
- Now we are to make use of public property $mediaComponentNames and set it to arrays with media library pro names that we are using
- We must understand that we are using components and for each of them we are bound to add a public property with a name to make them work properly. See how we have used it above (newUpload).
I have shown example of component below in the scripts. Please do not miss out on this one:
namespace App\Http\Livewire;
use App\Models\YourModel;
use Livewire\Component;
use Spatie\MediaLibraryPro\Http\Livewire\Concerns\WithMedia;

class MyForm extends Component
{
    use WithMedia;
public $name;

    public $message = '';

    public $mediaComponentNames = ['newUpload'];

    public $newUpload;

    public function submit()
    {
        $formSubmission = YourModel::create([
            'name' => $this->name,
        ]);
 $formSubmission
            ->addFromMediaLibraryRequest($this->newUpload)
            ->toMediaCollection('images');

        $this->message = 'Your form has been submitted';

        $this->name = '';
        $this->clearMedia();
    }

public function render()
    {
        return view('livewire.my-form');
    }
}
You’d understand that as soon as we upload the file it gets saved as temporarily. For the form handling we need to use addFromMediaLibraryRequest that we can move the temporarily uploaded files to the Model.
If the file needs to be cleaned we’d use clearMedia() function for that. It would help us clear that file and do not display it in the views while the file clearly does not gets permanently deleted or removed.
For more than one attachments or even to clear specific files we’d use clearMedia by passing component name to it.
$this->clearMedia('newUpload')
#4 4th Step – Validation of a single file upload
We can also pass-by Laravel validation rule with the rules prop set by component x-media-library-attachment. We have shown an example bellow which would help you understand this concept better which would let only png and jpeg formats accepted:
<x-media-library-attachment name="newUpload" rules="mimes:jpeg,png"/>
So that means we can also use the upload required through validating in our component of Livewire:
// the method that would handle form submission in our component of Livewire
public function submit()
{
    $this->validate([
        'newUpload' => 'required',
    ]);

    // process the form submission
}
#5 Step 5 – Process to Deal With More Than One Upload
You should know that both processes, whether uploading a single file or more, are very identical. We just need to keep the attachment multiple in x-medialibrary-attachment. We have demonstrated the example bellow for that:
<form method="POST" wire:submit.prevent="submit">

    <input id="name" wire:model.debounce.500ms="name">

    <x-media-library-attachment multiple name="images" />

    <button type="submit">Submit</button>
</form>
For our component of Livewire we have to:
- Make use of Spatie\MediaLibraryPro\Http\Livewire\Concerns\WithMedia trait
- Include the public property parameter $mediaComponentNames to the array that has necessary media library pro component names in it.
- We had to add public property name that are used in view for each of the components like we have shown in the example newUpload.
Please see this example code for the component:
namespace App\Http\Livewire;

use App\Models\YourModel;
use Livewire\Component;
use Spatie\MediaLibraryPro\Http\Livewire\Concerns\WithMedia;

class MyForm extends Component
{
    use WithMedia;

    public $name;

    public $message = '';
public $mediaComponentNames = ['images'];

    public $images;

    public function submit()
    {
        $formSubmission = YourModel::create([
            'name' => $this->name,
       ]);

        $formSubmission
            ->addFromMediaLibraryRequest($this->images)
            ->toMediaCollection('images');

        $this->message = 'Form successfully accepted';

        $this->name = '';

        $this->clearMedia();
    }
    public function render()
    {
        return view('livewire.my-form');
    }
}
#6 Step 6 – Validating More Than One Upload
We can easily pass any of the validation rules in Laravel to rules prop for component x-media-library-attachment. WE have shown example bellow that shows png and jpeg get accepted only:
<x-media-library-attachment name="images" rules="mimes:jpeg,png"/>
You’d know that we are able to use the upload required by validating in our component of Livewire. We have shown example bellow that shows at least one upload is necessary but we can’t use it for more than 3 uploads.
// in the method that handles the form submission inside your livewire component

public function submit()
{
    $this->validate([
        'images' => 'required|max:3',
    ]);

    // process the form submission
}
#7 Step 7 – Administering Media Library Collection Contents
We can use component x-media-library-collection to manage our media contents in the media library collection. That can be used in the admin section. You can prepare the model if you have not by following steps in this guide.
We have shown example of a $blogPost model in which we are going to administer images collection.
<form method="POST" wire:submit.prevent="submit">
    <input id="name" wire:model.debounce.500ms="name">
    <x-media-library-collection
        name="images"
        :model="$blogPost"
        collection="images"
    />

    <button type="submit">Submit</button>
</form>
Like earlier examples we should have these covered in our Livewire component:
- Make use of Spatie\MediaLibraryPro\Http\Livewire\Concerns\WithMedia trait
- Include the public property parameter $mediaComponentNames to the array that has necessary media library pro component names in it.
- We had to add public property name that are used in view for each of the components like we have shown in the example newUpload.
Here is an example component:
namespace App\Http\Livewire;

use App\Models\BlogPost;
use Livewire\Component;
use Spatie\MediaLibraryPro\Http\Livewire\Concerns\WithMedia;

class MyForm extends Component
{
    use WithMedia;

    public $name;

    public $message = '';

    public $mediaComponentNames = ['images'];

    public $images;
    public function submit()
    {
        $formSubmission = BlogPost::create([
            'name' => $this->name,
        ]);
        $formSubmission
            ->addFromMediaLibraryRequest($this->images)
            ->toMediaCollection('images');

        $this->message = 'Your form has been submitted';
    }

    public function render()
    {
        return view('livewire.my-form');
    }
}
#8 Step 8 – We Have to Validate Collection
We can easily pass any of the validation rules in Laravel to rules prop for component x-media-library-collection. WE have shown example bellow that shows png and jpeg get accepted only:
<x-media-library-collection name="images" rules="mimes:jpeg,png"/>
 You’d know that we are able to use the upload required by validating in our component of Livewire. We have shown example bellow that shows at least one upload is necessary but we can’t use it for more than 3 uploads.
// in the method that handles the form submission inside your livewire component
public function submit()
{
$this->validate([
'images' => 'required|max:3',
]);
// process the form submission
}
#9 Step 9 – Custom Properties
We can use media item for saving custom properties which are supported by the Media library. You’d know that by default component x-media-library-collection cannot display custom properties. We have to create a blade view for that for our form and its components to be seen.
We have to add new_field as our new custom property form field.
@include('media-library::livewire.partials.collection.fields')

<div class="media-library-field">
    <label class="media-library-label">New field</label>
    <input
        class="media-library-input"
        type="text"
        {{ $mediaItem->livewireCustomPropertyAttributes('new_field') }}
    />

    @error($mediaItem->customPropertyErrorName('new_field'))
    <span class="media-library-text-error">
       {{ $message }}
    </span>
    @enderror
</div>
Next we have to pass its view parth to fields-view prop in component x-media-library-collection.
<x-media-library-collection
    name="images"
    :model="$formSubmission"
    collection="images"
    fields-view="app.your-custom-properties-blade-view-path"
/>
Finally we have shown how the output looks.
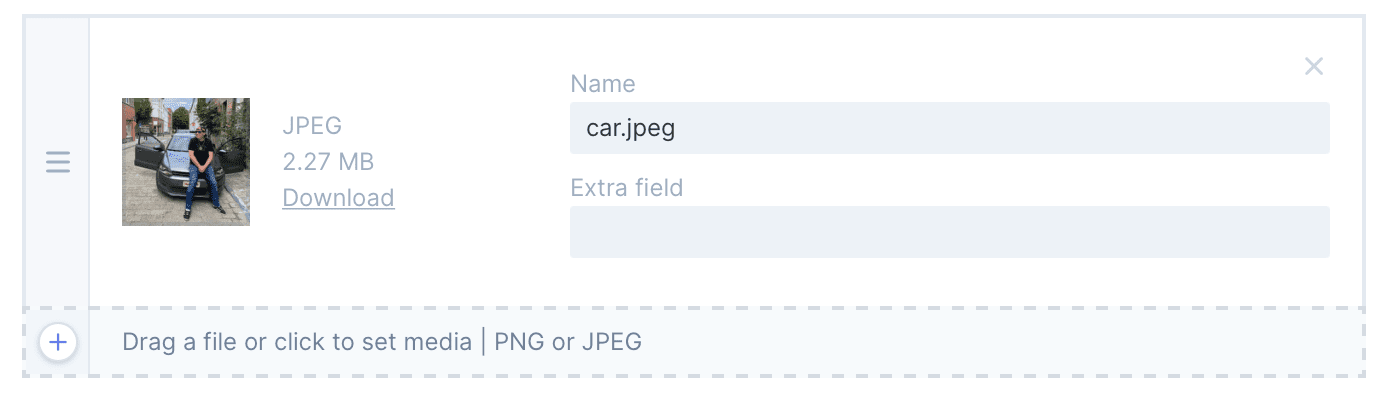
We can always validate our custom properties in component of Livewire for which the example is shown here. As you have already set name attribute x-media-library-collection to images.
// This is in our component of Livewire which will handle form submission
public function submit()
{
    $this->validate([
        'images.*.custom_properties.extra_field' => 'required',
    ], ['required' => 'Mandatory field to be filled with details']);

    // now submit form
}
#10 Step 10 Let’s Upload to S3 Directly
We can us only the attachment component to upload files to S3 because at this point in time Livewire lacks support for uploading multiple files to S3.
If you are uploading files to S3 follow official instructions by Livewire.
Finally there’s one of the more important things that we need to take care of and you’d too by configuring the media disk that has S3 drive or that uses it. If that configuration is taken care of we can directly upload attachment to S3.

