We know how easily we can use Laravel to manipulate data and add more functionality to our web app projects. Laravel 9 puts us further up in the race and combines forces with other frameworks and libraries to help us feature our applications the best way possible. Since the release of Laravel 9 we have seen Vite replaces laravel Mix and has added a new layer of functionality where as AlpineJS helps us to edit or compose behaviros within our markup. It was that easy before. For this tutorial we are using Vite to install AlpineJS on our Laravel 9 app project.
So first we will install Laravel 9 and then AlpineJs in Vite. Once we have to set up our new Laravel 9 project we will move to the bootstrap and resource folder. If you have not created a new Laravel project with Vite for AlpineJs installation go to this tutorial install Laravel 9 using Vite and then head over to the next step.
Now we are adding in the resources.js folder this code. This resource folder is located in the bootstrap.js file. First we are importing from lodash and then bootstrap. Copy this code and use it.
import _ from 'lodash';

window._ = _;

import 'bootstrap';

// Add this

import Alpine from 'alpinejs';

window.Alpine = Alpine;

Alpine.start();
Next we are building our asset files using npm:
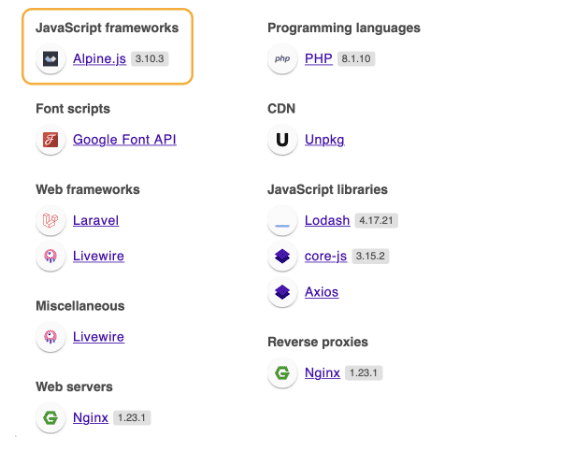
npm run buildNow when we will check our website and find AlpineJS in our assets we have installed alpine in laravel 9 vite.
Let us know in the comments for queries regarding this. We hope this helps you become a better coder.












Leave a Review